
Application Guide
2026.08.20
Tips for Applying Plaster #6
Once you start applying the plaster, avoid stopping or taking breaks in areas where there are no natural breaks in the surface. Rejoining the plaster can result in unnatural steps or color variations.
Let’s Make Plaster with NURI²
Slaked lime, the main ingredient in plaster, is alkaline and can cause skin irritation if it comes into direct contact with your skin. When applying plaster, wear long sleeves, long pants, rubber gloves, safety goggles, and a mask to prevent it from coming into contact with your skin.
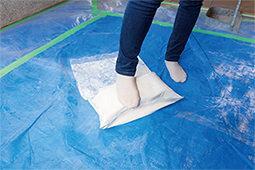
① Start by standing on the plastic bag containing the plaster with one foot and kneading it until it softens slightly. |
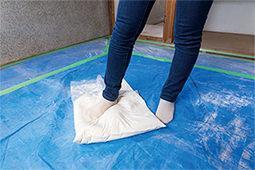
② Once you can reduce the force of your stomping, continue stomping while spreading the mixture to fill the entire plastic bag. |
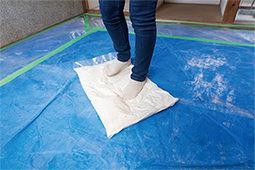
③ Stamp your feet for about 1 to 2 minutes; once the consistency is uniform and soft, it’s ready. The more you stamp the plaster, the softer it becomes. |
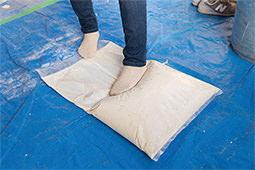
④ Push the plaster—which you’ve spread out to fill the plastic bag—to one side with one foot. |
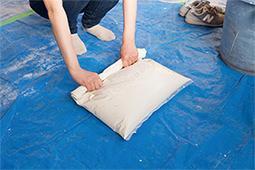
⑤ Starting from the opposite side of where you pushed the plaster, roll the edge of the plastic bag toward the plaster. |
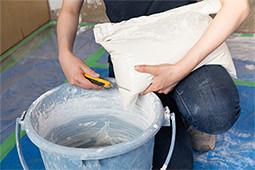
⑥ Place the plaster bag on your lap and cut the end of the plastic bag to about 5–7 cm using scissors or a utility knife. |
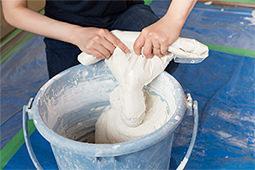
⑦ Using both hands, squeeze the plaster into the bucket as if you were piping whipped cream. |
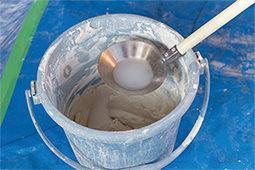
⑧ Only if the plaster is too thick, add water little by little with a ladle to adjust the consistency. |
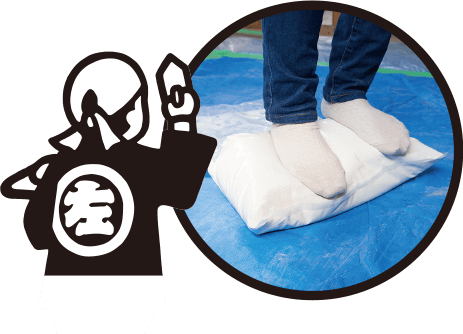 |
Tip! Make sure to stomp it down firmly Be sure to tamp down the corners of the plastic bag firmly as well. When tamping, be careful not to tear or damage the bag. |
Tips for Application
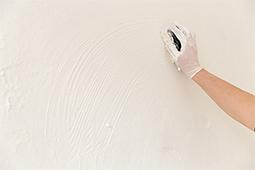
Decide on a pattern in advance Decide on a pattern (design) in advance and test your tools beforehand. Be careful: if you start testing your tools after you begin painting, the plaster may start to dry before you’ve finalized your pattern. |
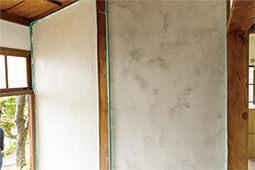
Finish one surface at a time in one go Once you start painting, finish the entire wall or ceiling in one go without stopping or taking a break. Be careful: if you stop and let it dry, the area where you resume painting may develop unnatural steps or color differences. |
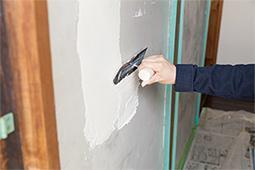
Apply a coat 1–2 mm thick Aim for a coating thickness of 1–2 mm. Be careful not to apply the paint too thickly in a single coat, as this can cause cracking. If you need to apply a thicker coat, do so by applying multiple layers. |
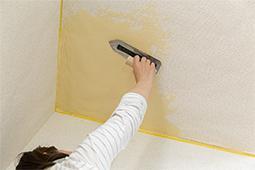
Start by painting the ceiling Always start applying the plaster from the ceiling. Be careful: if you paint the walls first, the material used to paint the ceiling later may stick to the walls and cause staining. |
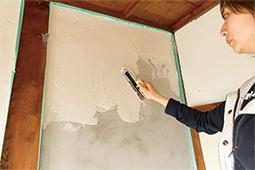
Apply it boldly and confidently Move the trowel in broad strokes to boldly apply the plaster across the entire surface you’ve decided to cover. Be careful not to make small, detailed movements with the trowel, as this can disrupt the seamless appearance of the entire wall. |
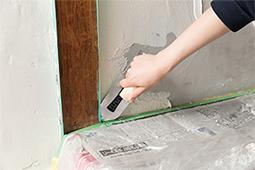
Check for any missed spots in the corners Apply the material thoroughly all the way to the four corners to ensure a high-quality finish. If it’s hard to tell whether the plaster has been applied properly, shine a light on the area to check that it reaches all the way to the corners. |
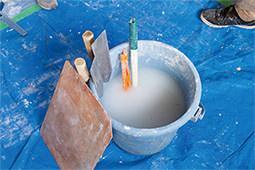
Clean your tools frequently Wash your trowel and trowel board frequently to prevent the material from hardening and sticking to them. Be careful, as dirty tools can scratch the wall or cause debris to get mixed in. |
Here’s the step-by-step process for actually applying NURI2—the “Let’s Give It a Try” Edition (Part 1)! Anyone can do it, so check it out!!
Here’s the step-by-step process for actually applying NURI2—the “Let’s Give It a Try” Edition (Part 2)! Anyone can do it, so check it out!!

