
Application Guide
2026.08.20
Tips for Applying Plaster: Part 7

How to Hold the Trowel
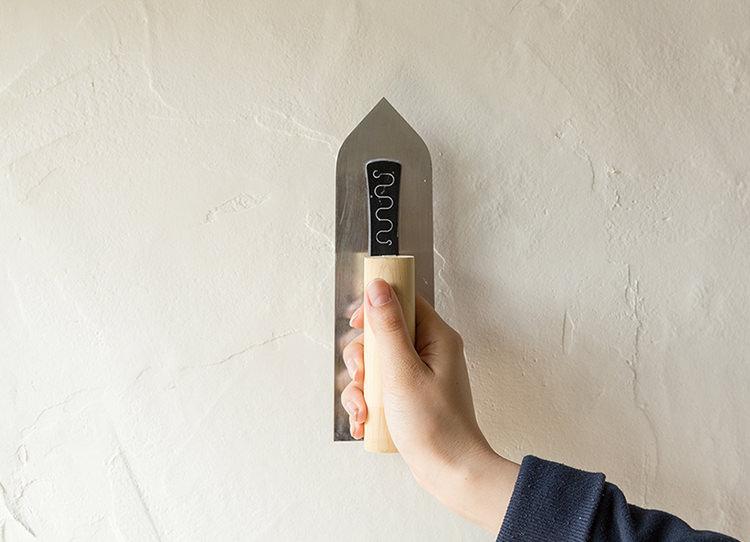
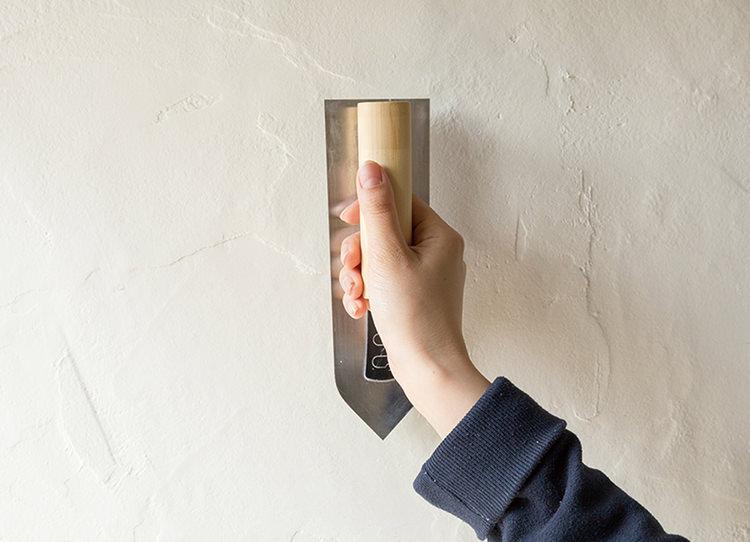
When applying pressure to a single spot on the trowel, such as when painting corners
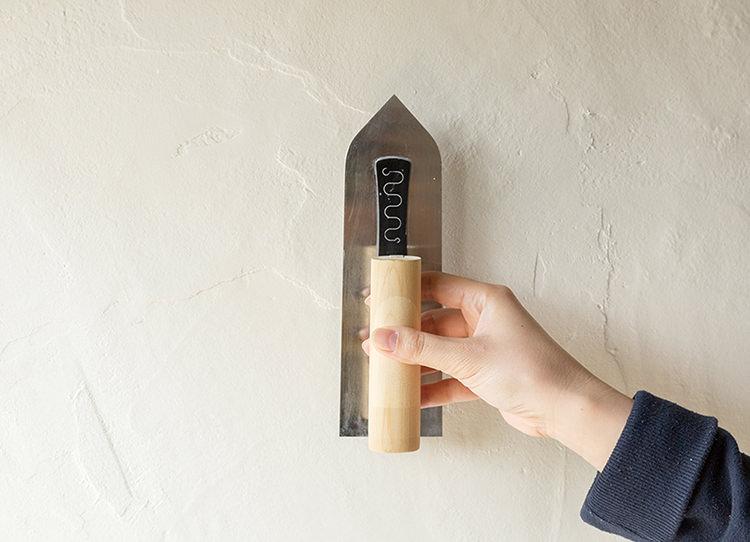
When applying paint to edges or lightly smoothing the surface—that is, when not applying much pressure
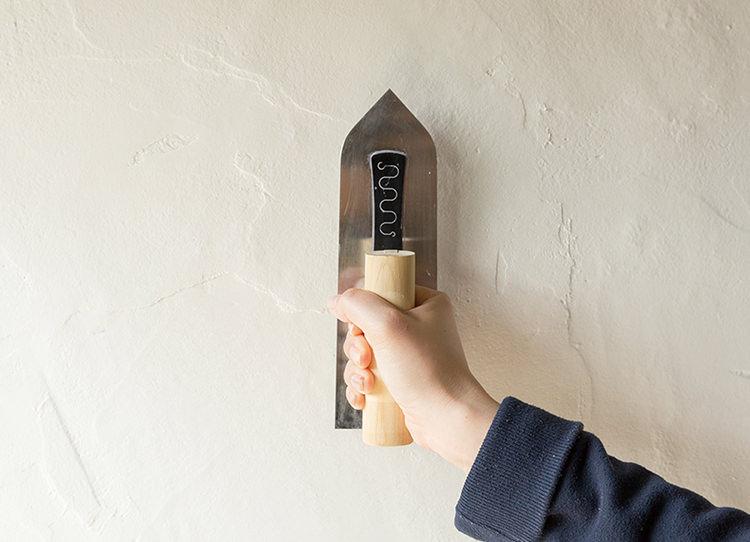
When applying to a large area while pressing firmly
 |
Tip! Position of the Trowel Before scooping plaster onto the trowel, decide where you’ll apply it next (in which direction you’ll move the trowel after scooping the plaster). Think about where on the trowel to place the plaster based on the area you want to cover, and scoop accordingly. |
How to Scoop the Material
Use momentum to your advantage—turn the trowel blade upside down decisively to load the material firmly onto the trowel.
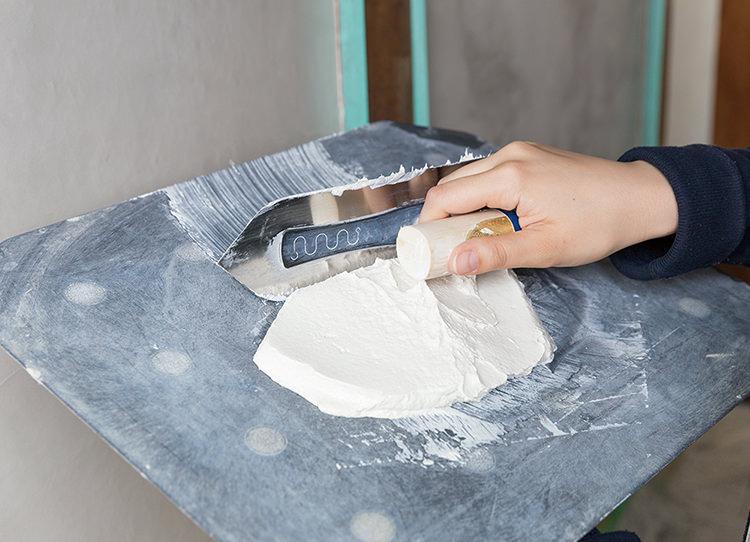
① Use the trowel to cut off the material from the far end of the trowel board.
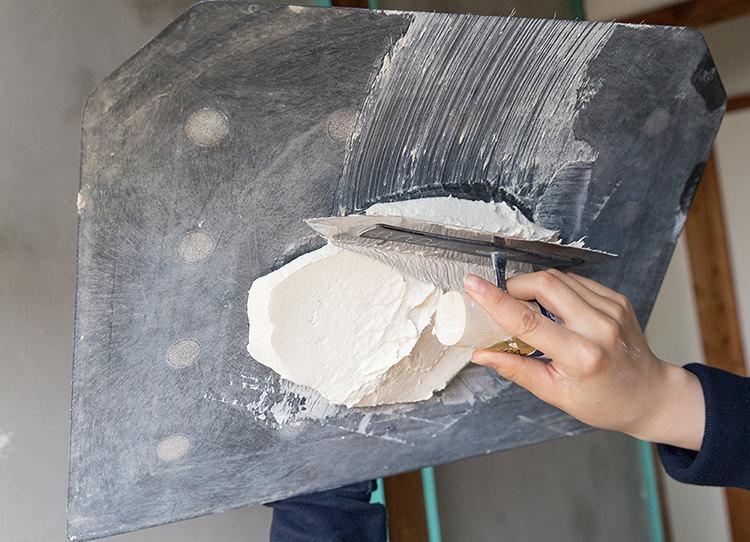
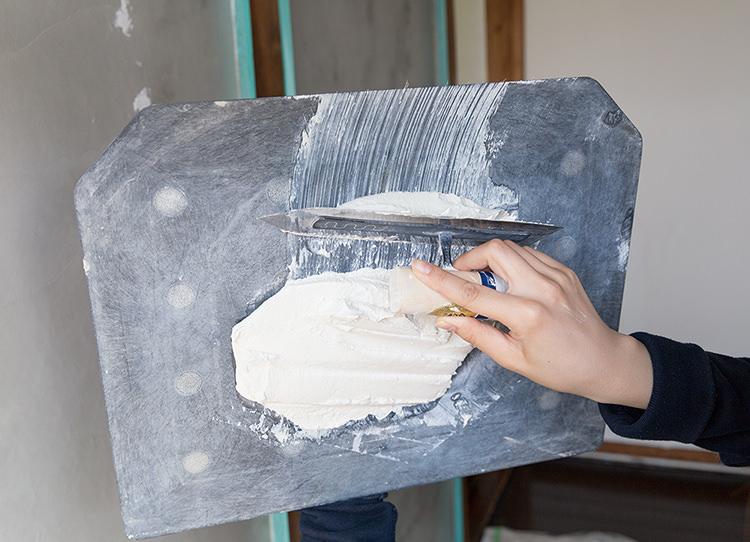
② Flip the trowel board over while keeping the trowel in place.
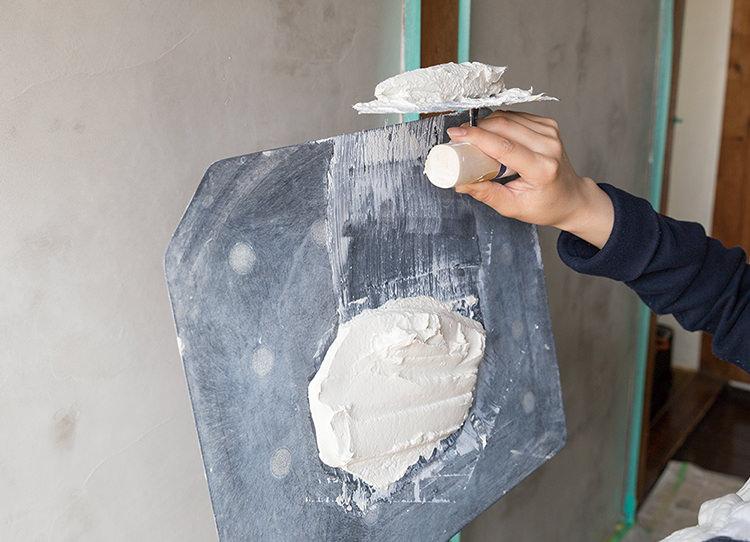
③ Gently push the material upward from the cutting board onto the trowel to lift it off the board.
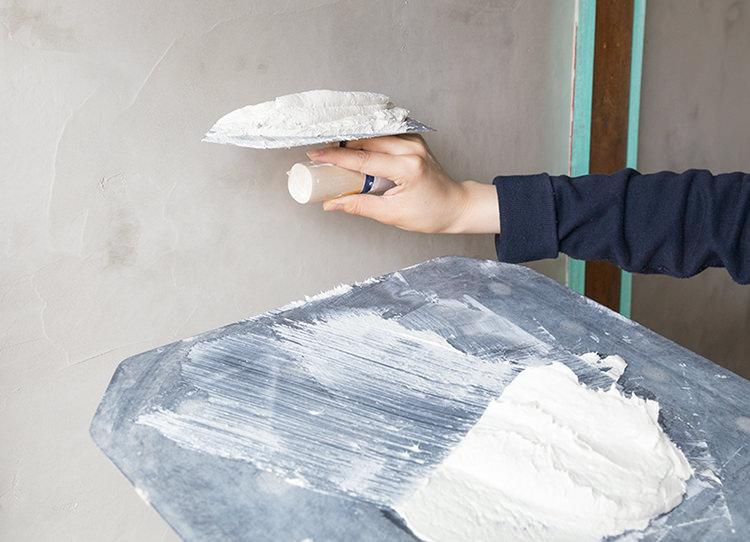
④ Once it has come off the trowel board, apply it directly to the wall.
Start applying from the ceiling
The basic rule is to start from the ceiling and work down the wall. If you’re right-handed, start from the left corner. If you’re left-handed, start from the right corner.
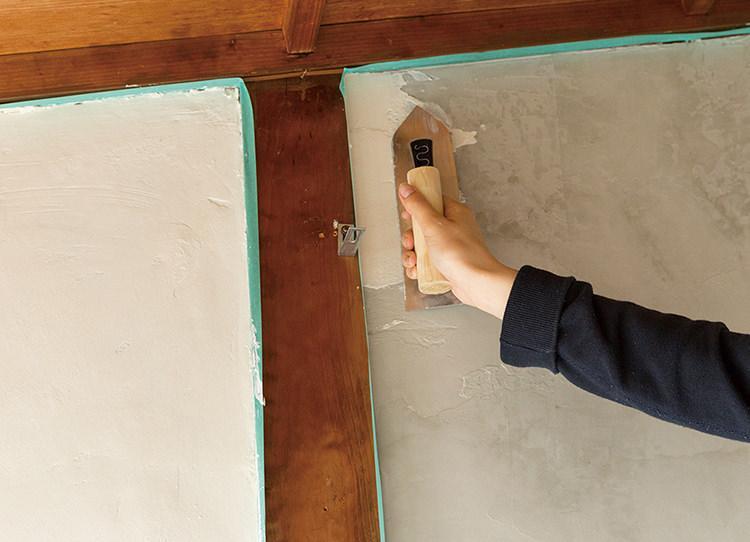
① Start painting from the top of the corner opposite your dominant hand, filling in the edge where the wall meets the ceiling.
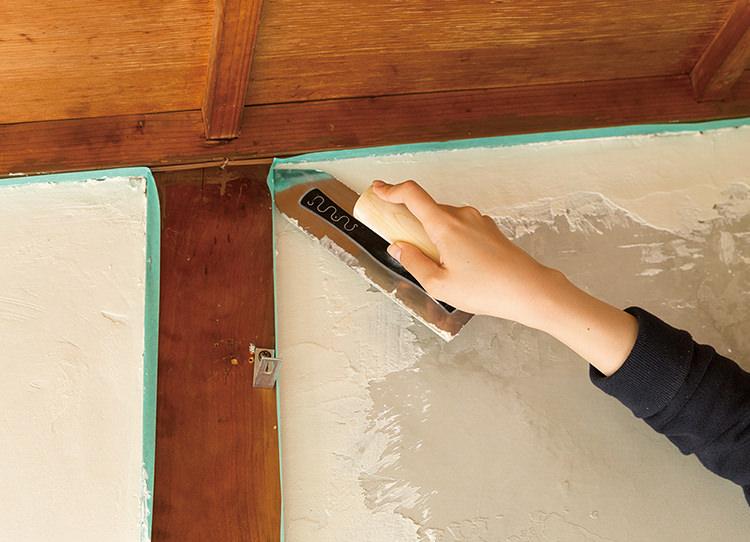
② Work your way down, taking care to avoid uneven spots as you paint along the edge of the wall.
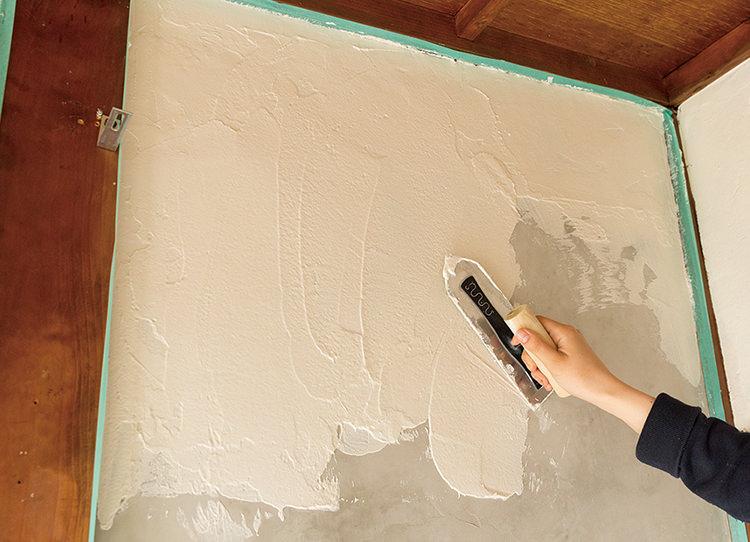
③ Once you’ve finished painting the edges, continue painting the remaining large areas.
How to Paint Walls
Wash your tools frequently as you work, and apply the paint boldly and confidently.
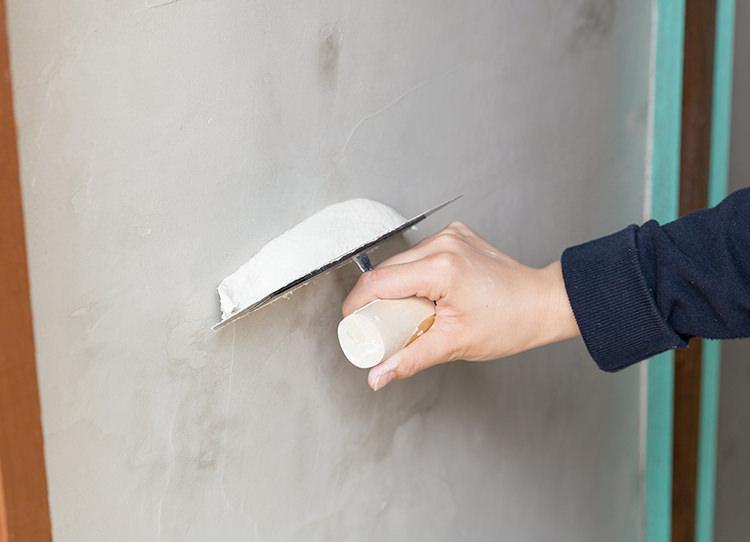
① Hold the trowel at a 90° angle to the wall.
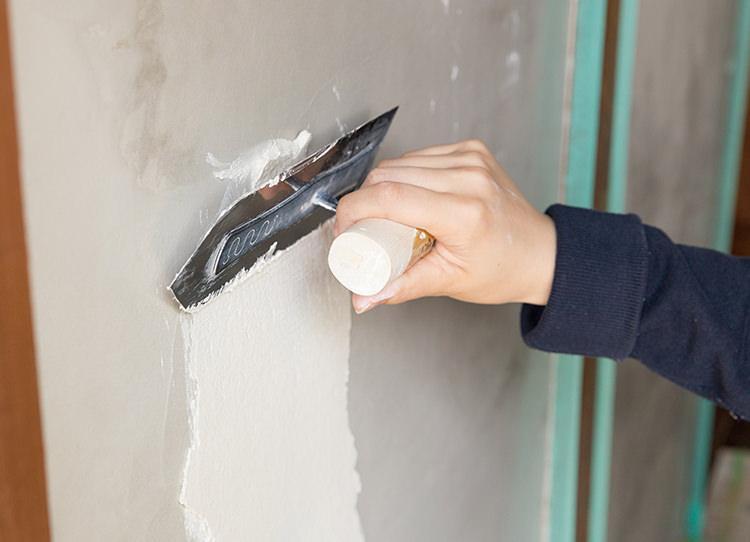
② Gradually tilt the trowel upward as you apply the material to the wall.
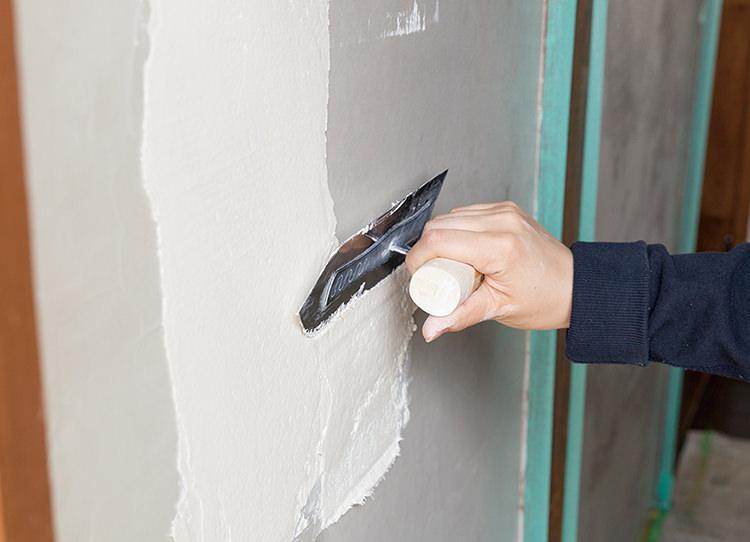
③ Apply several more rows of the material in the same way next to the layer you just applied (on the side of your dominant hand).
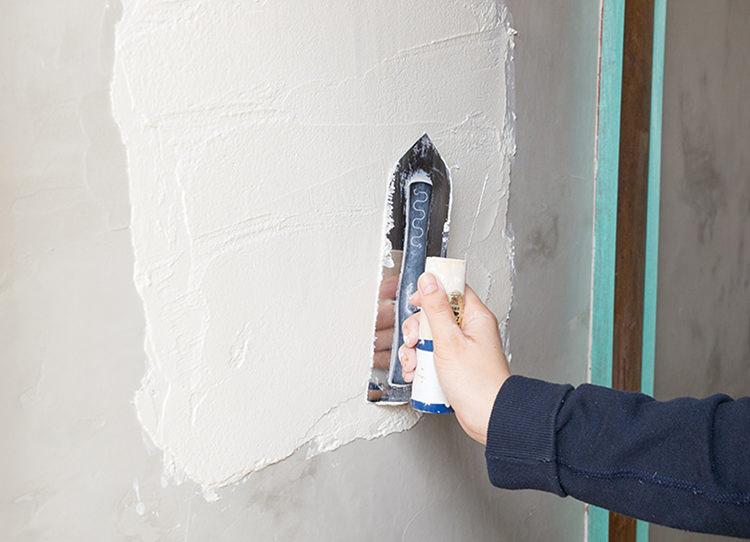
④ Once you have applied all the material from the trowel to the wall, spread it out horizontally.
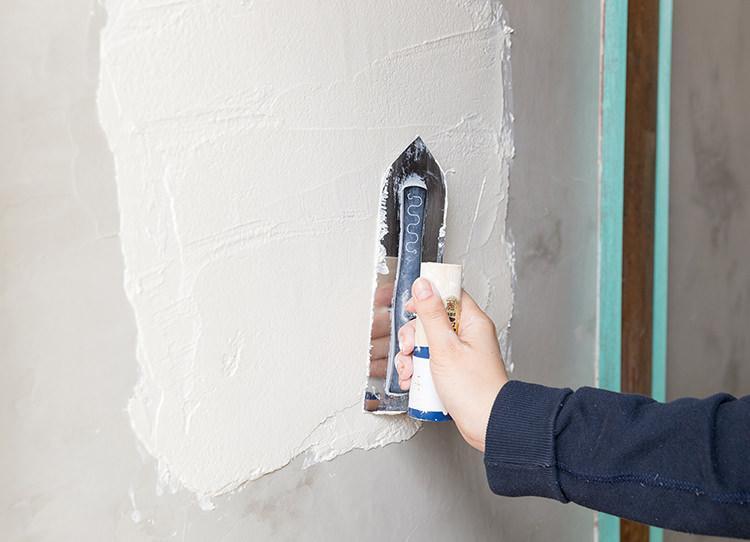
⑤ Lift the blade of the trowel on the side facing the direction of travel about 1 cm, and smooth the mixture as you slide the trowel.
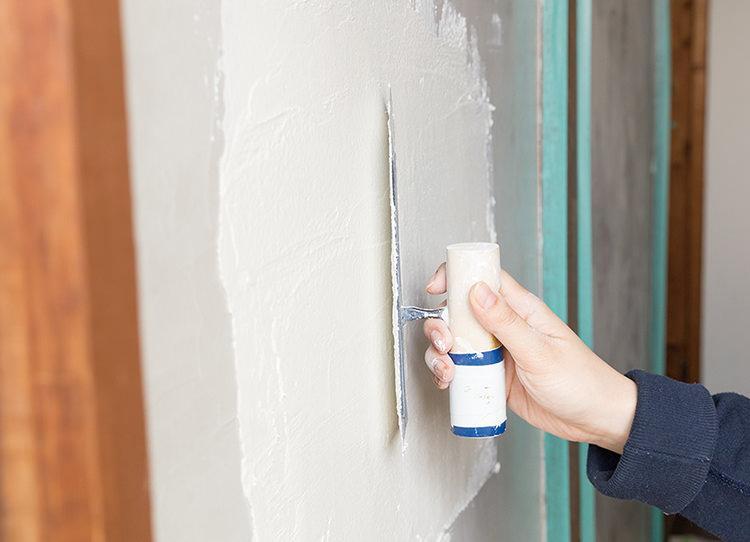
⑥ Apply firm pressure against the wall as you spread the mixture evenly.
Here’s the step-by-step process for actually applying NURI2—the “Let’s Give It a Try” Edition (Part 1)! Anyone can do it, so check it out!!
Here’s the process of actually applying NURI2—the “Let’s Try It” Edition (Part 2)! Anyone can do it, so check it out!!

